Frame by Frame: How to Shoot Postcard-Worthy Screenshots in TDU 2025
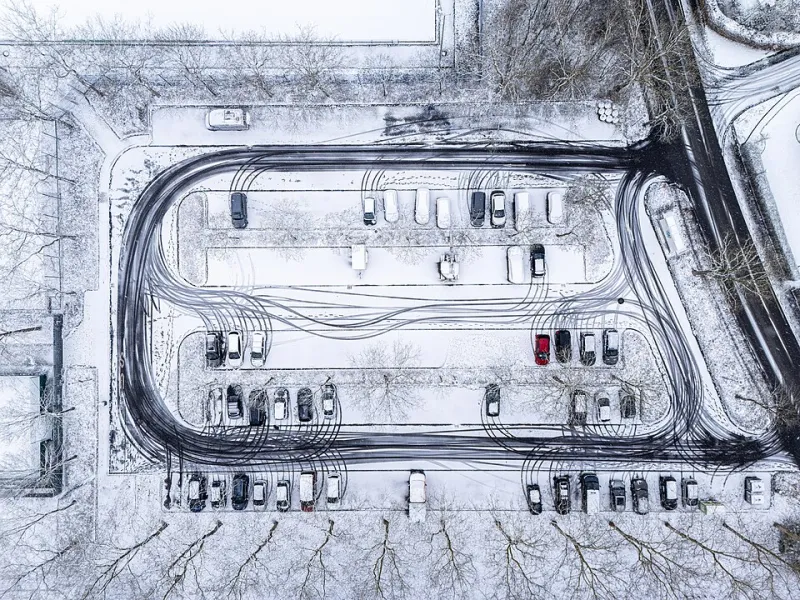
Photo: Dietmar Rabich, CC BY-SA 4.0, via Wikimedia Commons
Why Some Shots Just Work
You know the ones. They show up in the community feed and stop you mid-scroll — a car parked on a coastal shoulder, sun dropping behind the hills, and everything just sits right. No trickery, no filter stack, no twelve-layer edit. Just a good eye and a little patience.
Photo mode in TDU 2025 is generous. It gives you the tools. What it doesn't give you is taste, and that's the part you have to build. Here's how to build it.
Start With the Light, Always
Light is the whole ballgame. A great location at noon looks flat and lifeless; the same spot an hour before sunset looks like a magazine spread. Before you touch a single slider, check the clock.
Golden hour is the obvious answer — roughly an hour after sunrise and an hour before sunset. Long shadows, warm color, and that low-angle rim light that separates a car from its background. Blue hour, the twenty minutes right after sunset, gives you cool ambient tones and warm streetlights, which is the cheat code for city shots. Overcast is underrated: soft, even light with no harsh highlights, perfect for a clean detail shot of a wheel or a badge.
What to avoid: dead-center midday. If you have to shoot at noon, find shade or a tunnel and use it as a natural softbox.
Composition Basics That Actually Matter
Get low. Bumper height, or lower. Ninety percent of amateur shots are taken at eye level, and eye level is the least interesting angle on a car. Drop the camera to the height of the headlight and the whole car changes shape.
Use leading lines. Lane markings, guardrails, curb edges, painted arrows — put them in frame and let them point at the car. A road that disappears into the horizon behind your subject does more work than any filter.
Leave room to move. If the car is facing right, give it space on the right side of the frame. Cramped shots feel like a parking ticket; open shots feel like a road trip.
Shoot the three-quarter angle. Front three-quarter — slightly off the nose, wheels turned toward the camera — is the classic car-photography stance for a reason. It shows the front, the flank, and the wheel all at once.
Watch the background. That light pole growing out of the roof? You'll never unsee it. Pan the camera two feet to the left before you commit.
A Settings Cheat Sheet
- Aperture: f/1.8–f/2.8 for car portraits with a soft background. f/8 or narrower when the landscape matters as much as the car.
- Focal length: 24–35mm for wide, dramatic, road-in-the-frame shots. 85mm when you want the background compressed and stacked up behind the car.
- Shutter: slow it down for wheel and background motion blur on a rolling shot, but don't overdo it — a smear reads as a mistake, not as speed.
- Field of view: narrower FOV flatters the car's proportions. Wide FOV exaggerates the road but bends the bodywork at the edges. Pick your priority.
- Tilt: two to five degrees does wonders. More than that and it looks like the camera fell over.
- Filters: use one. One. Stacked filters are the fastest way to make a screenshot look like a screenshot.
Scouting the US-Inspired Roads
The map is full of postcard bait if you know the categories to hunt for.
Coastal highways give you ocean, cliff face, and a curve all in one frame — shoot from the outside of the bend looking back at the car with the water behind it. Desert canyons are all about rock texture and hard shadows; go early or late and let the red rock do the color grading for you. Mountain passes reward elevation — find a switchback above the car and shoot down for a scale shot that makes the car look tiny and the landscape look enormous. Small-town main streets are the sleeper pick: brick storefronts, old signage, a parked car that looks like it belongs there. And any roadside diner with a neon sign is worth a stop after dark.
One rule when you park: use the shoulder or a pull-off, not the middle of the lane. It's better photography and better manners.
Tips From the Community
A few things regulars in the photo threads keep repeating, because they work:
- Put the sun behind the car, not behind the camera, for a glowing outline effect.
- Kill motion blur entirely for static shots. It's the number one reason a clean shot looks muddy.
- Use the replay and freeze-frame tools to catch a drift mid-slide instead of trying to time it live.
- Shoot three versions of every setup — wide, medium, tight — and pick later. You can't judge a composition on a small preview.
- Hide the HUD. Always. Every single time.
Five Challenges for This Month
- The Empty Road — one car, one road, no other vehicles in frame, horizon visible.
- Golden Hour Only — a shot taken within the in-game sunset window, with visible shadows.
- Bad Weather, Good Photo — rain or fog, and it has to look intentional rather than gloomy.
- Small in Frame — the car takes up less than a fifth of the image. Let the landscape win.
- The Detail — no full car. A wheel, a badge, a mirror, a taillight. Frame it like it's the whole subject.
Send Us Your Postcards
We're running a rolling gallery of community shots, and the bar isn't as high as you think. Tag your post with #TDUPostcard on the forum and drop the image in the thread — include the road you shot it on if you remember, because half the fun of these is stealing a location for next weekend.
Best one each month gets featured on the homepage. Go find some light.